Cactus Roots: How to Inspect Them and What Healthy Looks Like
How to slide a cactus out of its pot for a root check, what healthy, dry, rotted and root-bound roots look like, and how to put the plant back with minimal disturbance.
At a glance
What you need
- Thick leather gloves
- Folded newspaper or cardboard strip
- Tongs for small plants
- Soft brush
- Wooden stick or chopstick
- Magnifier
- Dry gritty mix for topping up
Much of what goes wrong with a cactus starts below the soil, where you cannot see it. Looking at cactus roots directly is often the quickest way to stop guessing, and done carefully it does the plant little harm.
The aim is a look, not a repot. You slide the plant out, read what you find, and put it back with as little disturbance as possible unless the roots tell you something needs to change.
When a root check is worth it
Roots are best left alone when a plant is growing well. A check earns its place when something does not add up:
- The plant keeps declining even though it has good light.
- The mix never seems to dry, or smells sour.
- The plant wobbles in its pot when it used to be steady.
- It stays shriveled days after a thorough watering.
- Roots are pushing out of the drainage hole.
If none of these apply, and especially if the plant is in bud or in the middle of its winter rest, wait. Every inspection costs some of the fine roots that do the drinking.
How to slide the plant out
Start with dry mix. It crumbles away cleanly, the root ball is lighter, and any roots that snap are less likely to rot.
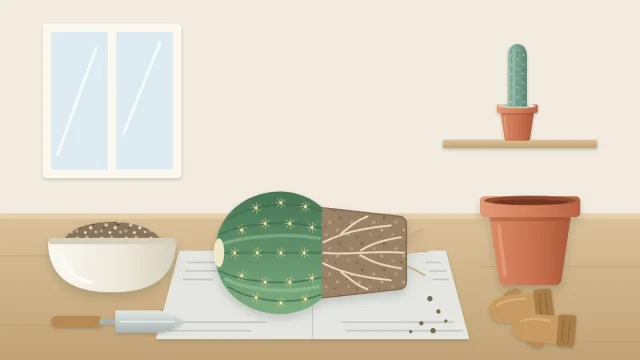
- Spread newspaper on a table and put on thick leather gloves. Thin fabric gloves do not stop spines.
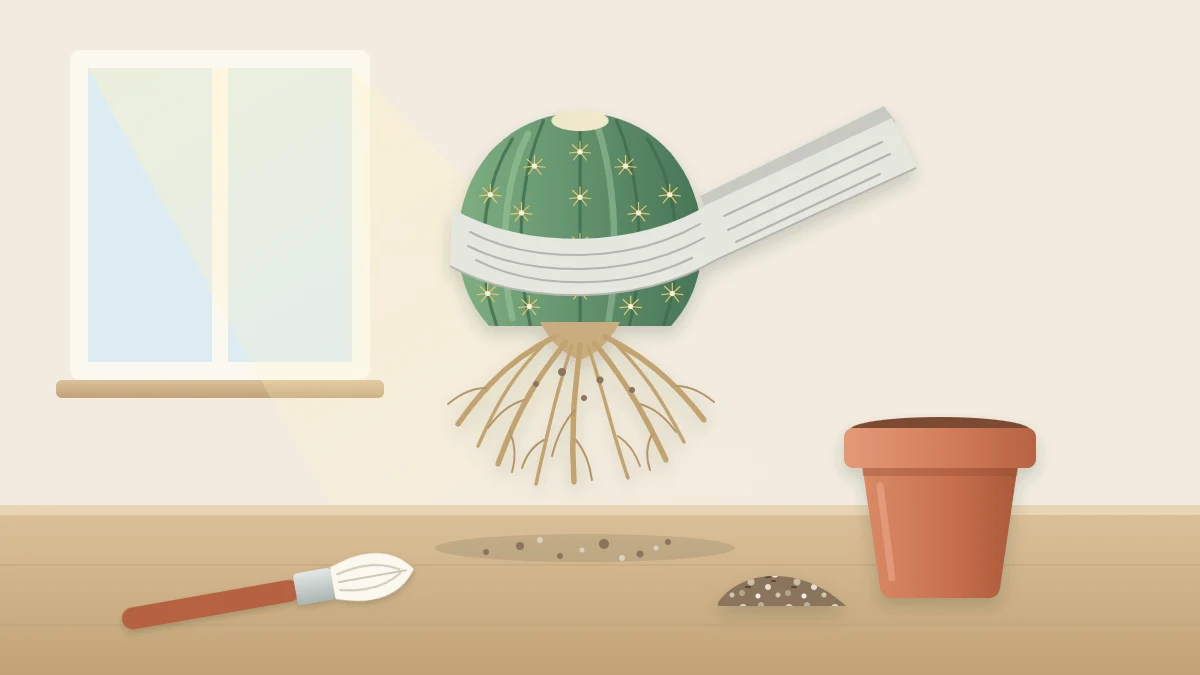
- Wrap a folded strip of newspaper or cardboard around the body as a sling, or grip a small plant gently with tongs.
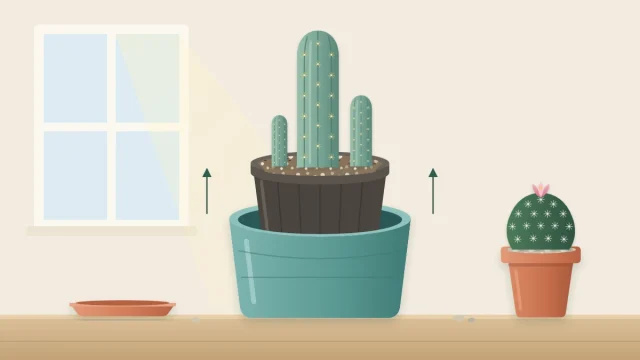
- Tip the pot on its side, tap the rim, and let the root ball slide out. Push through the drainage hole with a stick if it sticks. Do not pull on the body.
- Lay the plant down on the paper and brush loose mix away with a soft brush or a wooden stick so you can see the roots.
Good to know
Wear eye protection when handling tall plants or working at face height. Prickly pears and bunny ears shed glochids, tiny barbed bristles, at the lightest touch, so use tongs or a sling for those and never bare hands.
What healthy roots look like
Healthy roots are firm and pale, from cream to light tan, and they branch into fine threads that hold crumbs of mix. They bend without falling apart and smell of nothing much beyond earth.
Shape varies by species. Many globe-shaped cacti have a shallow fan of fibrous roots that spreads wide instead of deep. Others have a single thick, carrot-like taproot, sometimes with only a few thin roots coming off it. That taproot is a normal water store, not a swelling or a disease, and it should not be cut. Plants with one are happier in a deeper pot.

What else you may see
None of these finds is proof of one cause by itself, so read each along with the state of the mix and the base of the stem.
| What you see | What it may suggest | Where to go next |
|---|---|---|
| Thin, dry, brittle roots that snap | A long dry spell, or normal die-back of fine roots after winter rest | Check that the base is firm, then resume careful watering |
| Dark, soft roots that shed their outer layer or smell sour | Rot, commonly associated with mix that stayed wet | Follow the root rot guide |
| A tight mass circling the pot wall | The plant is root-bound | Repot into a slightly larger pot |
| White cottony clusters on roots or the inner pot wall | Possibly root mealybugs | Isolate the plant and identify the pest |

Dry roots or rotted roots?
These two are easy to confuse because both leave a plant unable to drink, and both can leave it shriveled. The difference is in the feel and the smell.
Dried roots are thin, papery and light. They snap cleanly, have no odor, and the mix around them is dry and dusty. Fine roots commonly die back during a long dry period and regrow once watering resumes, so a sparse, wiry root system on a firm plant in spring is not by itself a worry.
Rotted roots are dark brown to black, limp and wet. When you pull one gently, the outer layer often slides off and leaves a thin thread behind. There may be a sour or musty smell, and the mix is usually damp. Use a padded tool to press the base of the stem too: if it is soft or discolored, the problem has moved beyond the roots. The guide to cactus root rot explains what growers try from there.
Root-bound plants and white fluff
A tight coil of roots following the pot wall, with little mix left between them, means the plant has run out of room. It is not an emergency, but water tends to run straight past such a root ball. Loosen the outer roots and move the plant up one size by following the steps for how to repot a cactus.
White cottony tufts on the roots, in the mix or on the inside of the pot are one possible sign of root mealybugs. Look closely before deciding, because bits of perlite and white mineral crust can look similar at a glance. A magnifier helps: mealybug clusters are soft and waxy, and they smear when touched with a stick. If that is what you find, keep the plant away from the others and read the guide to cactus pests for the next steps.
Putting the plant back
If the roots look healthy and the pot still fits, return the plant to the same pot at the same depth. Fill any gaps with dry mix, tap the pot on the table to settle it, and use the stick to work mix around the roots instead of pressing near the spines.
Then hold off on water. If roots were broken or trimmed, waiting several days to a week or so lets the damaged ends dry and seal before they meet moisture. Keep the plant in bright shade during that pause.
Tip
Resist checking again a week later. Give the plant a few weeks, and judge progress by what you can see from above: a firm body, a steady stance in the pot and, in the growing season, fresh spines at the crown.
Frequently asked questions
What color should cactus roots be?
Healthy roots are usually pale, from cream to light tan, and firm to the touch. Older roots can be darker and woody on the outside while still being sound. Color alone is not enough: dark roots that are also soft, wet, slippery or sour-smelling are the ones that point toward rot.
Is it bad to take a cactus out of its pot to look at the roots?
A careful look with dry mix does little harm, but it always breaks some fine roots, so it is worth doing only when there is a reason. Avoid it during flowering and winter rest if you can, and hold off on water afterward if roots were damaged.
Why does a cactus have one big thick root?
Some species naturally grow a thick, carrot-like taproot that stores water. It is a normal part of the plant, not a problem, and should not be trimmed. Plants with a taproot do better in a deeper pot with a very fast-draining mix.